

I made this birthday cake for Cake'n'Bake Club's first birthday party in November 2012 - the theme being "Birthday Party". I knew I wanted to do a rainbow cake, mostly because I love making rainbow cake and hadn't done one in ages, but also because I'd made a rainbow cake for our first ever meeting a year before, and it seemed fitting. So I had my heart set on making a rainbow cake, but this time with the Cake'n'Bake Club logo on the top. That's kind of where it all went a bit wrong. You see, the topper I ordered was too wide to fit on top of a cake in the 6" cake pan I was planning to use. (Schoolboy error!) So I had the use a bigger cake tin. Normally, this wouldn't be a problem, as I'd just make the cake shorter by doing less layers to compensate for it being wider. But this was a RAINBOW cake, so I couldn't get rid of a layer, because then it wouldn't be a rainbow. I mean I already merged Indigo and Violet into simply "purple" - I don't think I could get away with loosing more colours!
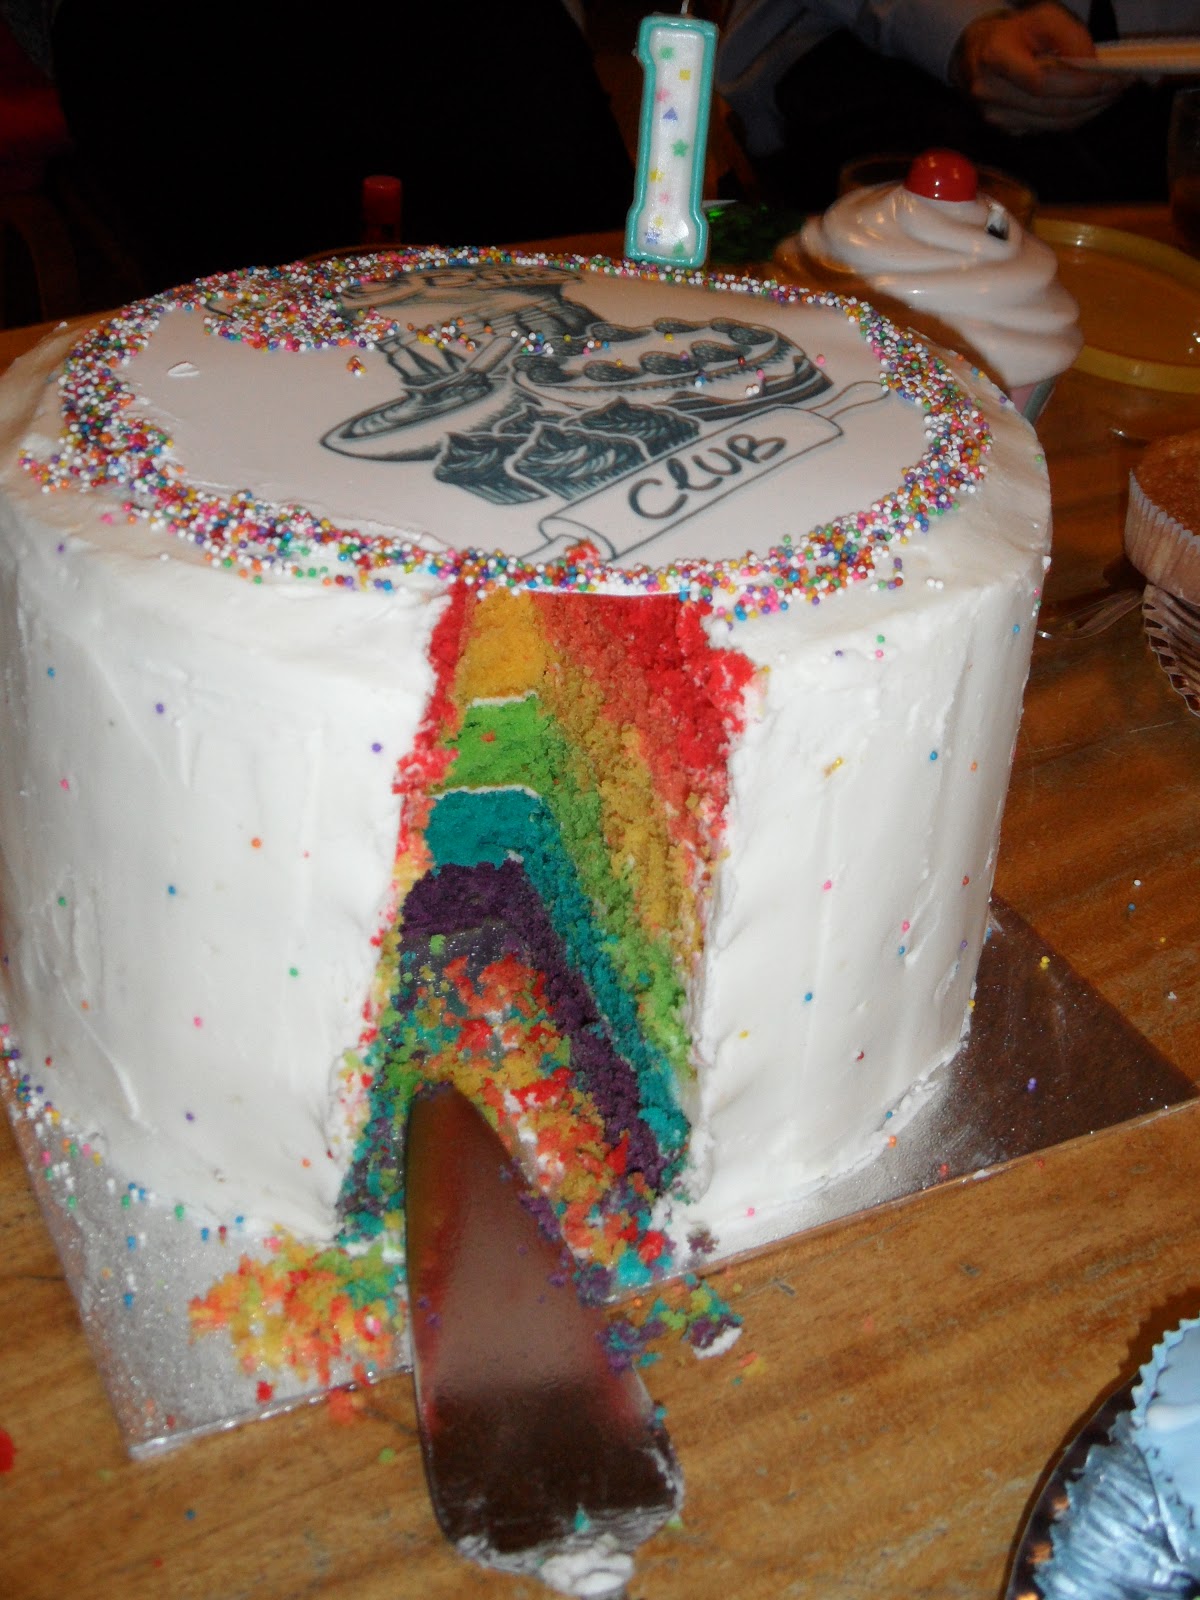
So I made 6 layers of cake in my 9" cake tine, and covered it all in frosting, and sprinkles, and my edible icing with the Cake'n'Bake logo on it.
 |
| This one slice fed 5 people. Not joking. |
Ingredients:
for the cake:
900g margarine (no joke)
900g caster sugar
9 medium sized eggs
150ml milk
900g self raising flour
3 tbsp vanilla extract
Food colouring in red, orange, yellow, green, blue and purple
for the icing:
500g vegetable shortening (Trex)
1kg icing sugar (still not joking!!)
2 tbsp vanilla extract
to decorate:
hundreds and thousands of hundred and thousands
an edible cake topper of your choice (optional)
- Preheat the oven to gas mark 5, and grease and line two baking tins.
- Unless you're using your kitchen sink as a mixing bowl, you're probably going to want to make this in batches. I made my batter in three batches, splitting each batch into two layers of cake.
- Start off by beating 300g margarine with 300g caster sugar in a large mixing bowl until light and creamy. Beat in three of the eggs, one at a time, followed by 50mls of the milk and 1tbsp of the vanilla extract. By the time you've beat all that in, your mixture should be light and fluffy.
- Measure out 300g of the flour, then fold this into the cake batter a little at a time, until the ingredients combine to form a smooth batter. Scoop half of the batter into a separate bowl, and use the food colourings to create a red batter and an orange batter. I always start with red as it's the worst colour to mix. If you don't use enough blue or green colouring, you just end up with light blue or light green. If you don't use enough red food colouring, you don't get light red. Oh no, my friend. You get pink. So you need to use a fair amount of red food colouring to get a red sponge. Don't forget though, that the colours will be more vibrant and a little darker once baked.
- Pour the batters into the prepared cake tins, and bake for 25-30 minutes until firm but spongy to touch. Allow the cakes to cool in their tins for 5 minutes before turning out onto a wire rack to cool completely.
- Repeat steps 4 and 5 to create your yellow, green, blue and purple layers. (Optional extra: make yourself a cup of tea and try to figure out how you're going to get this massive hunk of cakey goodness from your kitchen to the venue!!)
- Once all the layers are baked and cooled, mix up your frosting by beating the shortening and icing sugar together. I used an electric mixer for this to save time.
- Place your purple layer onto your serving plate, and spread a thin layer (roughly 1 tbsp) of the frosting over the top of this. Place your blue layer on top of this and repeat. Repeat also with the green, yellow, orange and red layers.
- Once all of your layers are stacked, crumb coat the cake. A crumb coat is a thin layer of icing that goes onto your cake and is left to set before you put your actual icing on. It's like cake underpants. Crumb coating is a very good idea when making rainbow cake, as one of the purposes of a crumb coat is to stick the crumbs to the cake so they don't get into your outer layer of frosting. Rainbow cake crumbs stand out against white icing, so crumb coating is good. Plus it's fun to say: crumb coat. Anyways... once you've covered your cake in a thin layer of frosting, pop it into the fridge for an hour or so to allow the crumb coat to set completely.
- Once the crumb coat has set, ice your cake with the remaining white icing. Top your cake with the edible topper, and use sprinkles to hide the seam between the cake topper and your frosting. I also poked sprinkles into the side of my cake to look like polka dots. I'm not really sure why I did that, it was just a whim. I thought it looked pretty at any rate.
- Invite that guy from Man VS Food over, promising him a t-shirt and eternal glory if he can eat the whole thing in 45 minutes. Alternatively, share the cake with lots of friends and family, and lots of tea!
Happy Thoughts
x
No comments:
Post a Comment